
Driving traffic to current deals and promotions is a key part of a promotion's success. Often times a user will come in from a different campaign or organically, browse your site, and not even know a promotion is going on. Lytics can be used to easily redirect people to a desired landing page.
1) Choose a campaign type
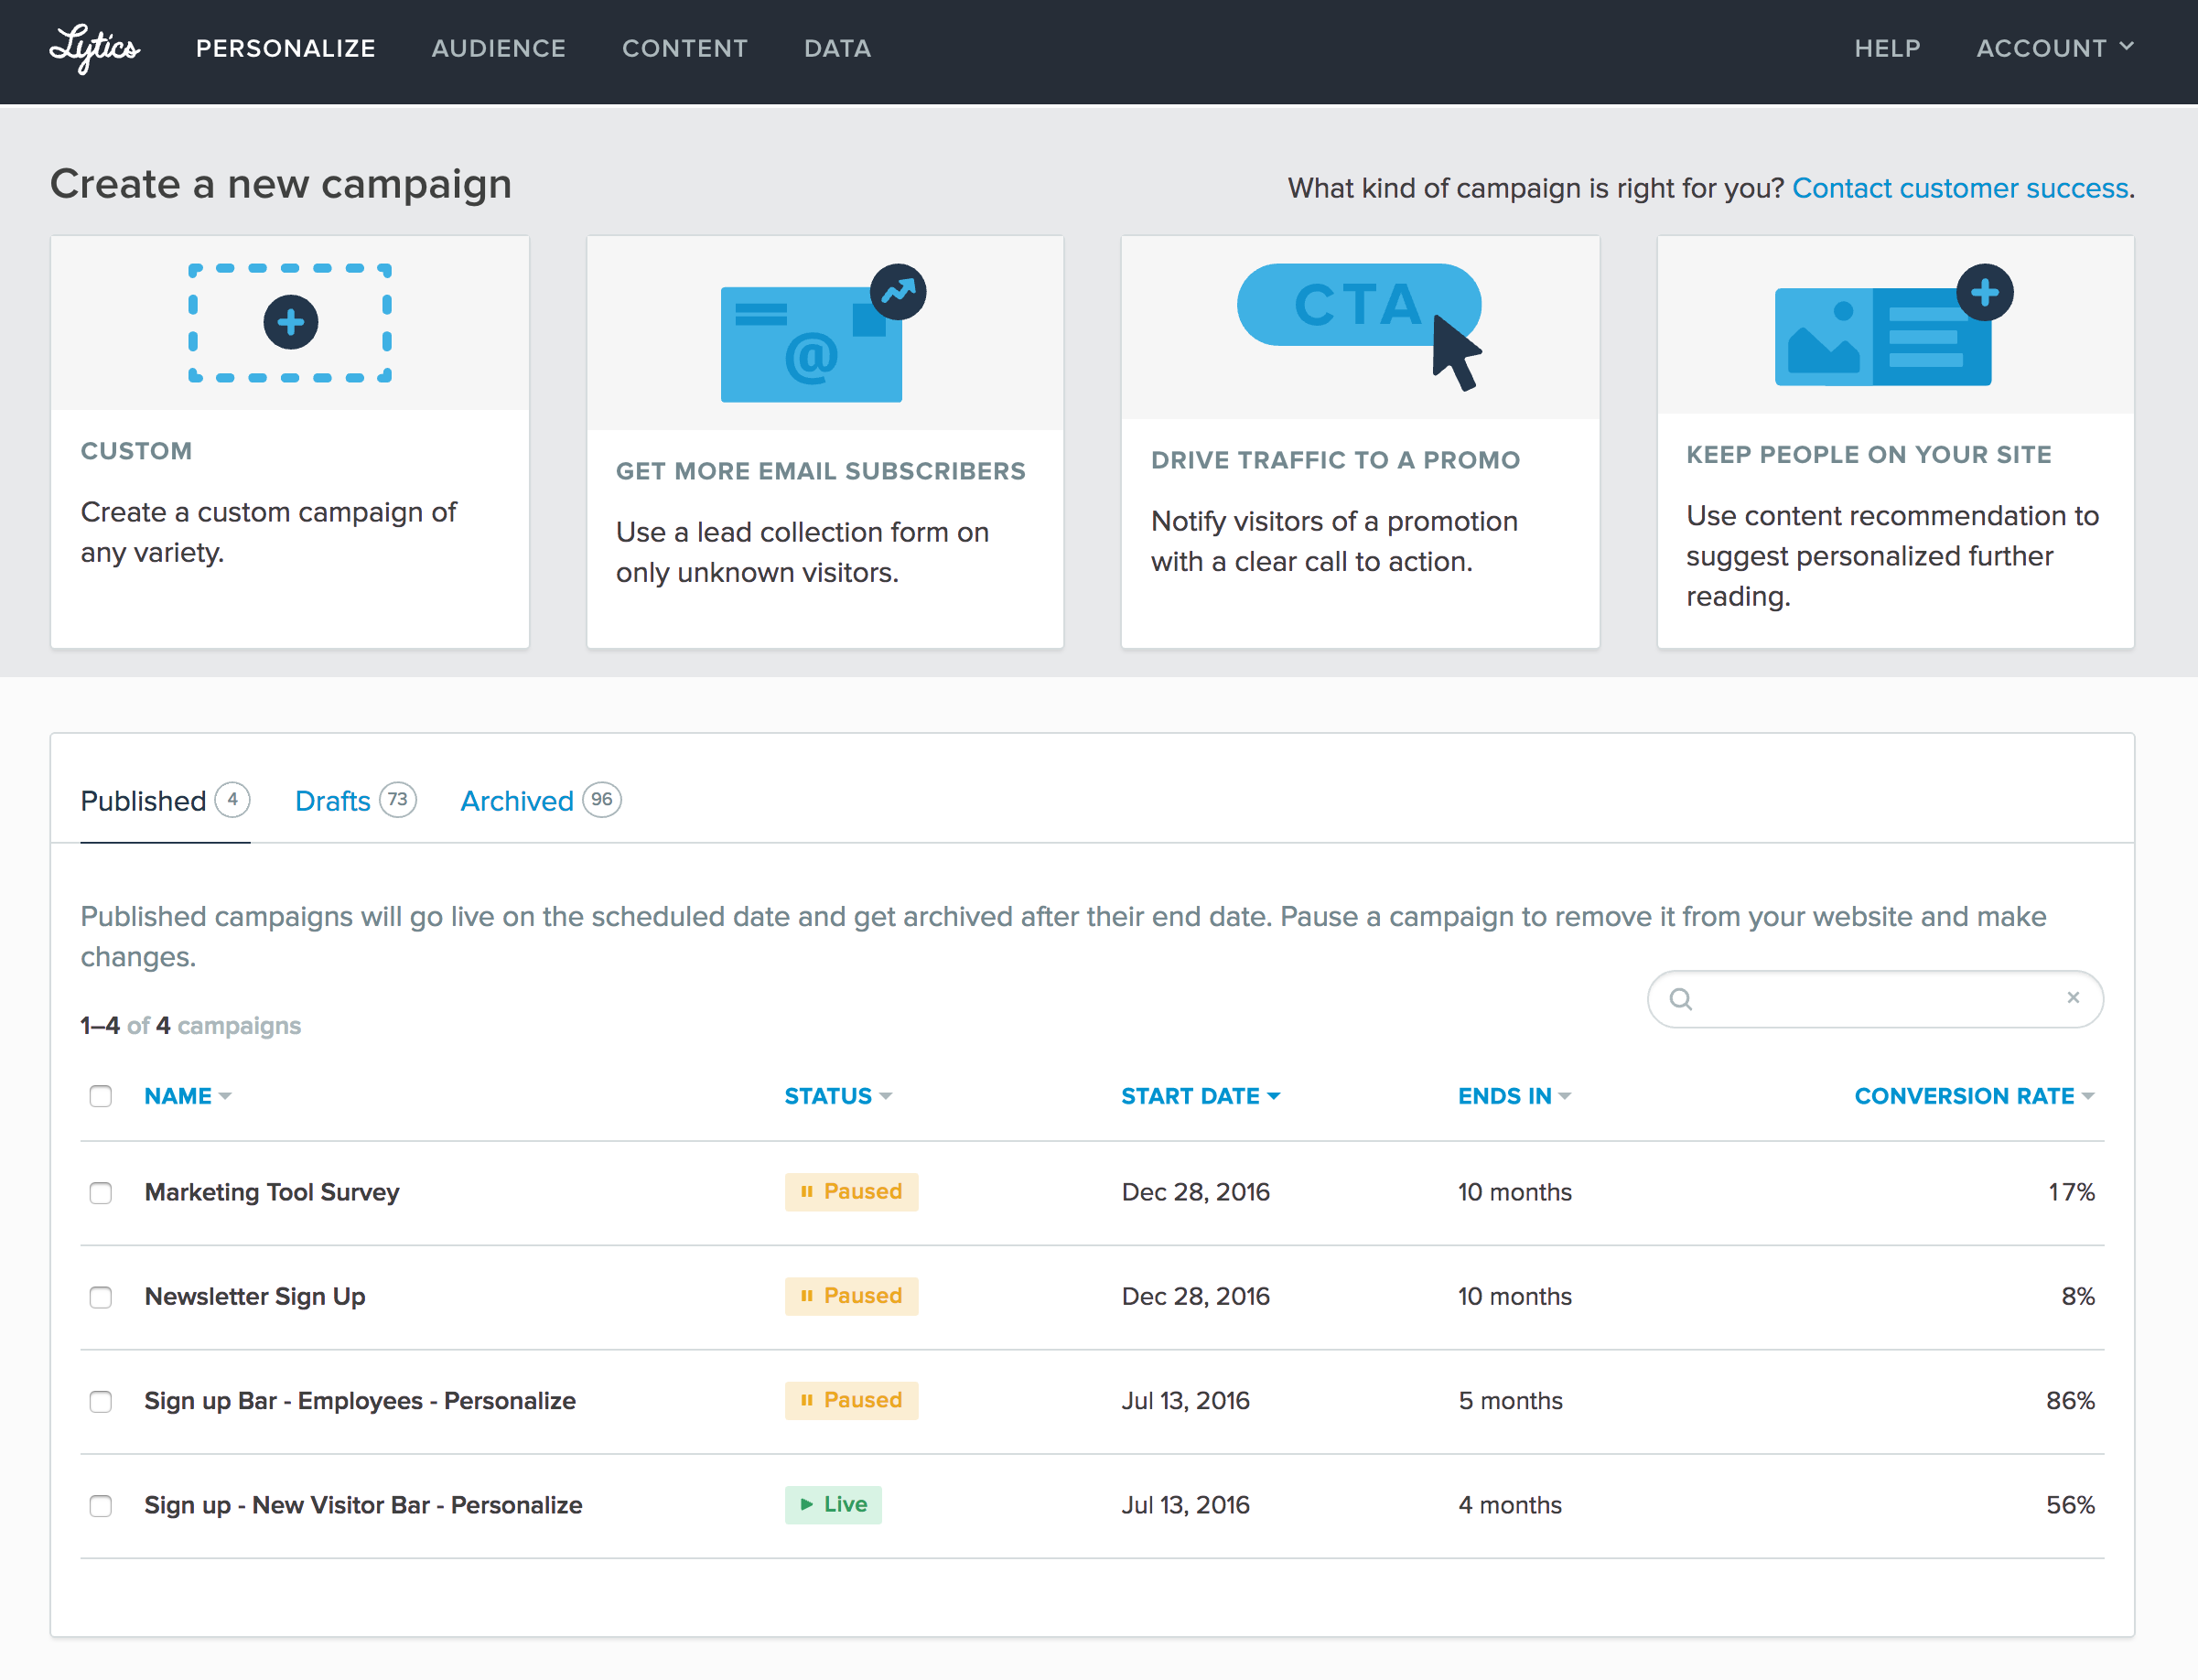
From the Personalize section of the Lytics Product, click "Custom" under "Create a new campaign".
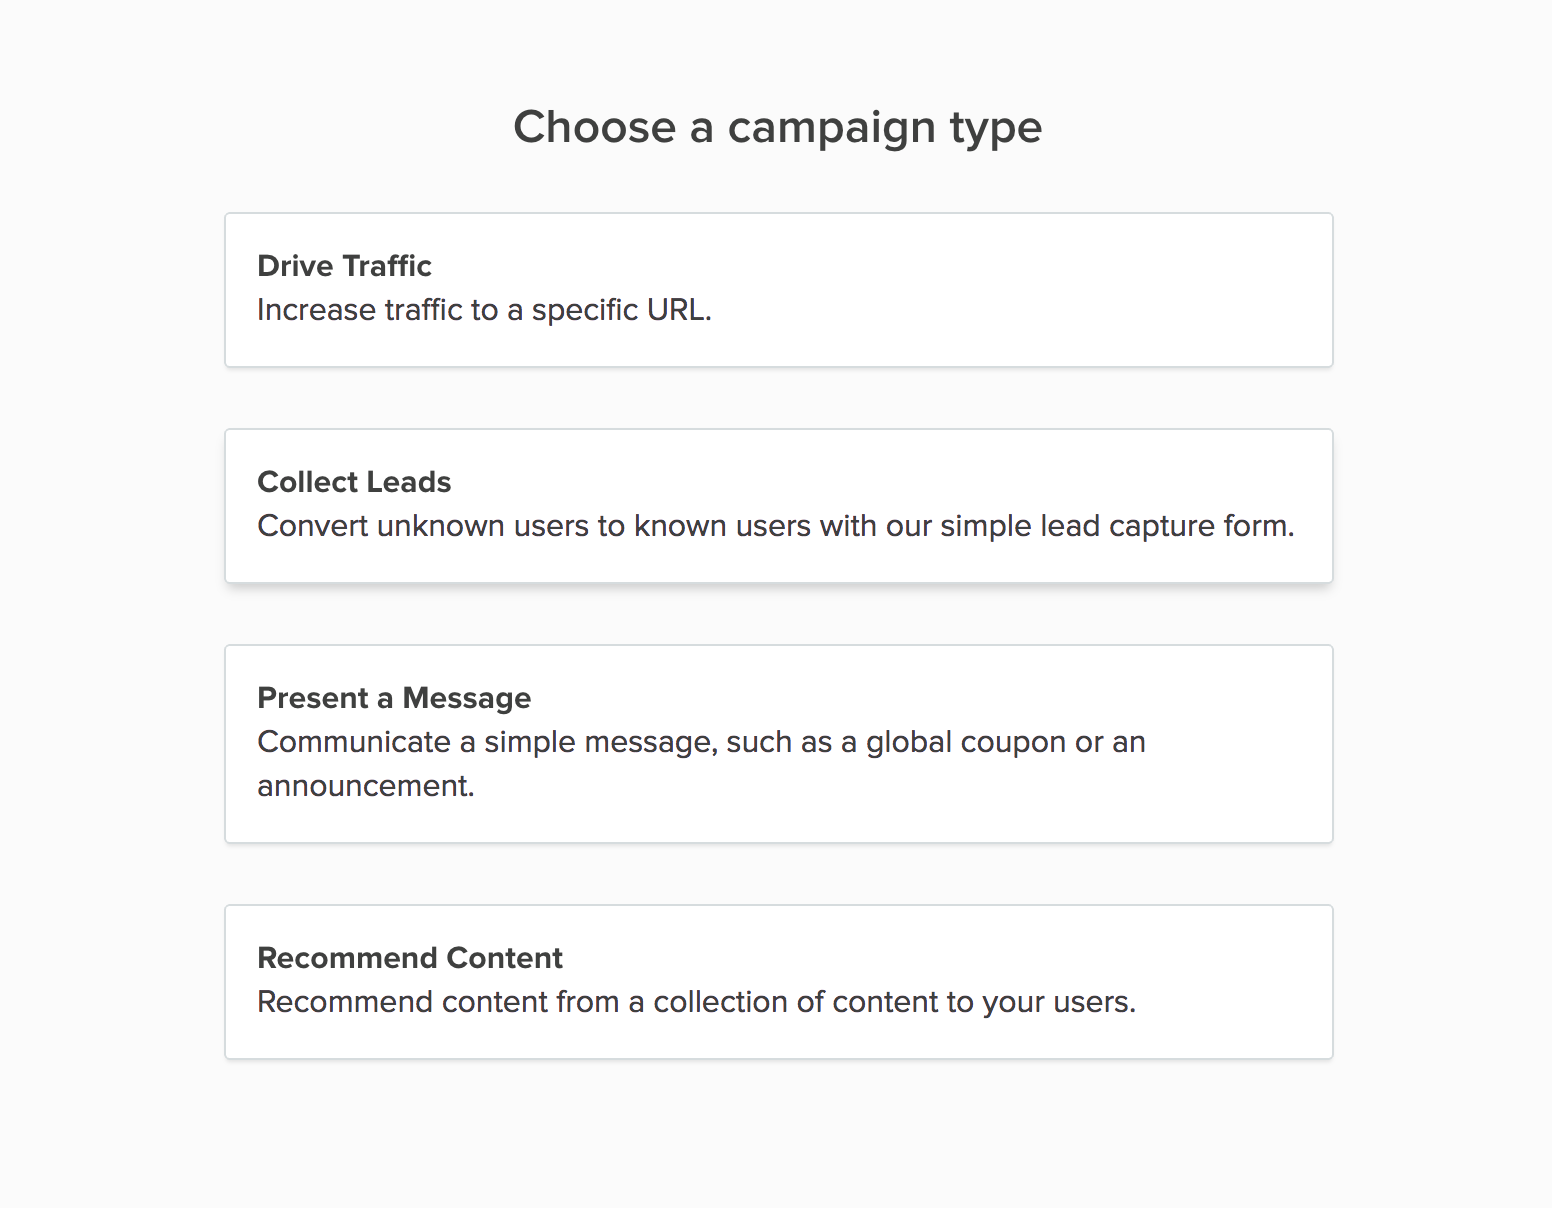
Then click the "Drive Traffic" campaign type, since that's what we'll be doing.
2) Choose a URL to promote
Where do you want visitors to go? Put that URL here.
Note: Lytics will track conversions based on who clicks the call-to-action in the widget so no query params here are necessary. You are welcome to add some if you like; they won't mess up any reporting.
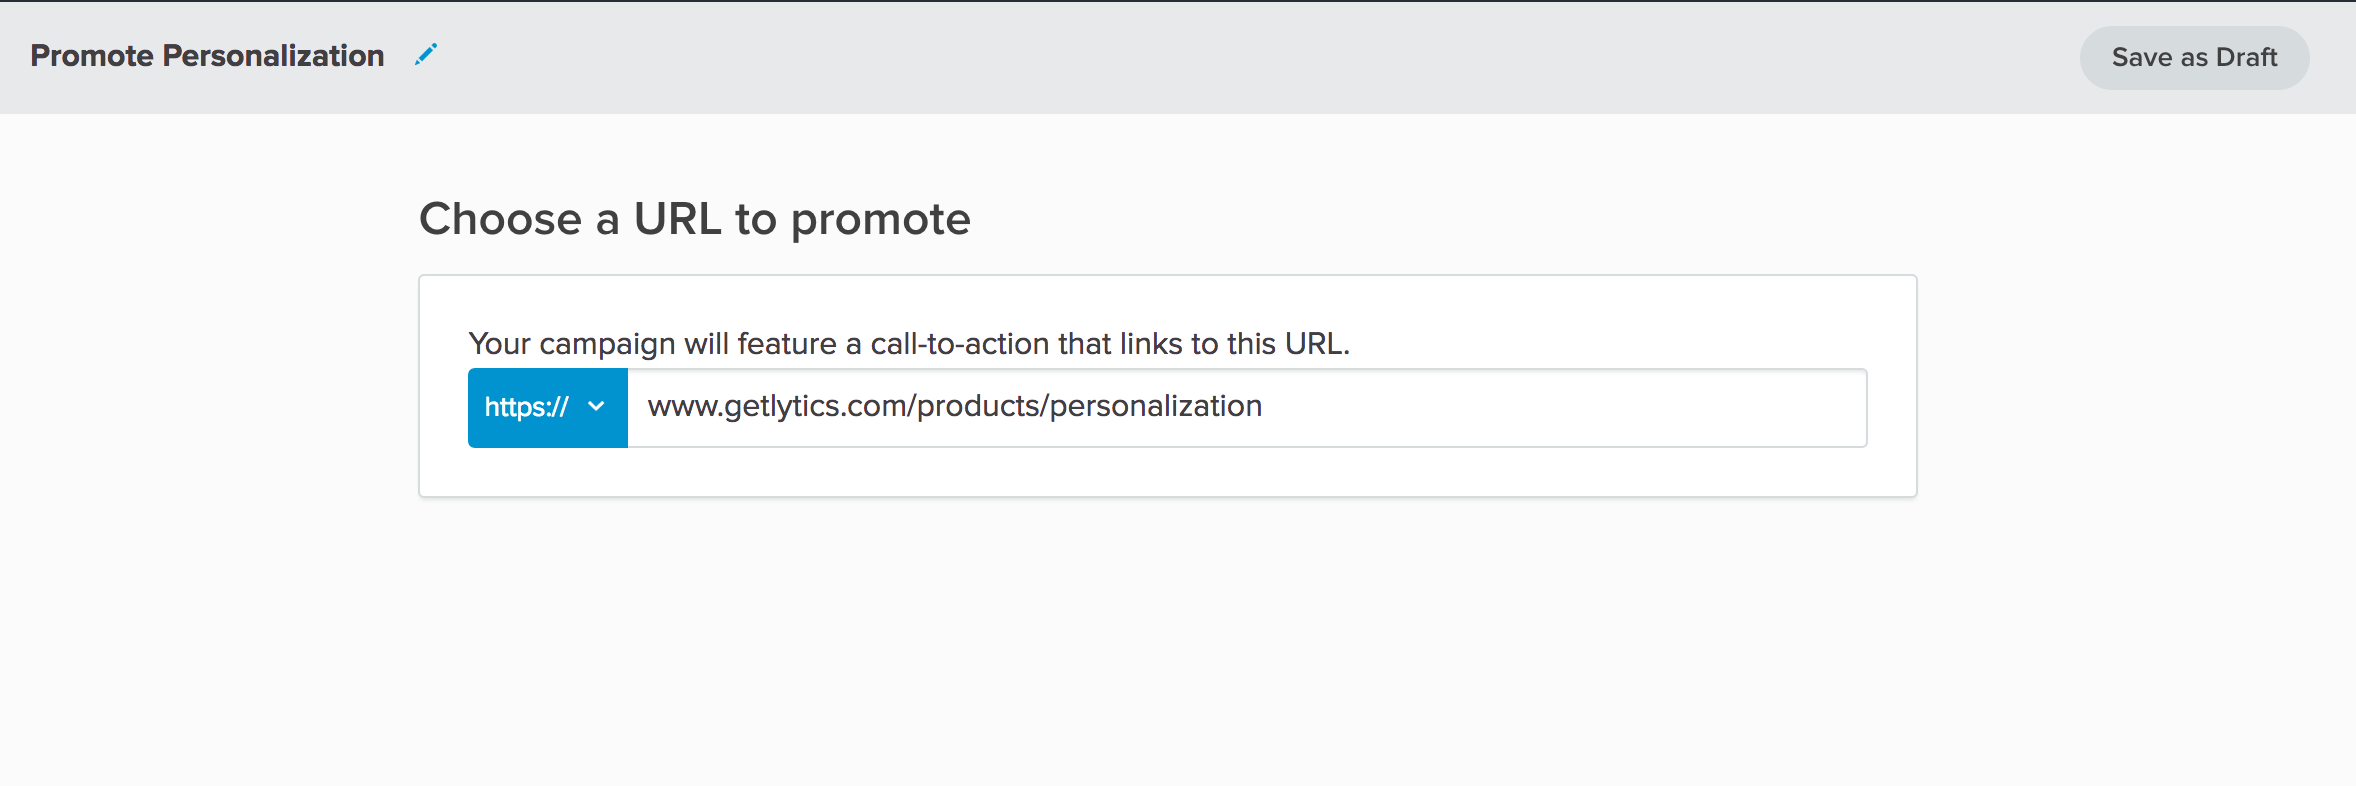
I have also given my campaign a name at this point. It isn't required to name these things, but it helps to stay organized!
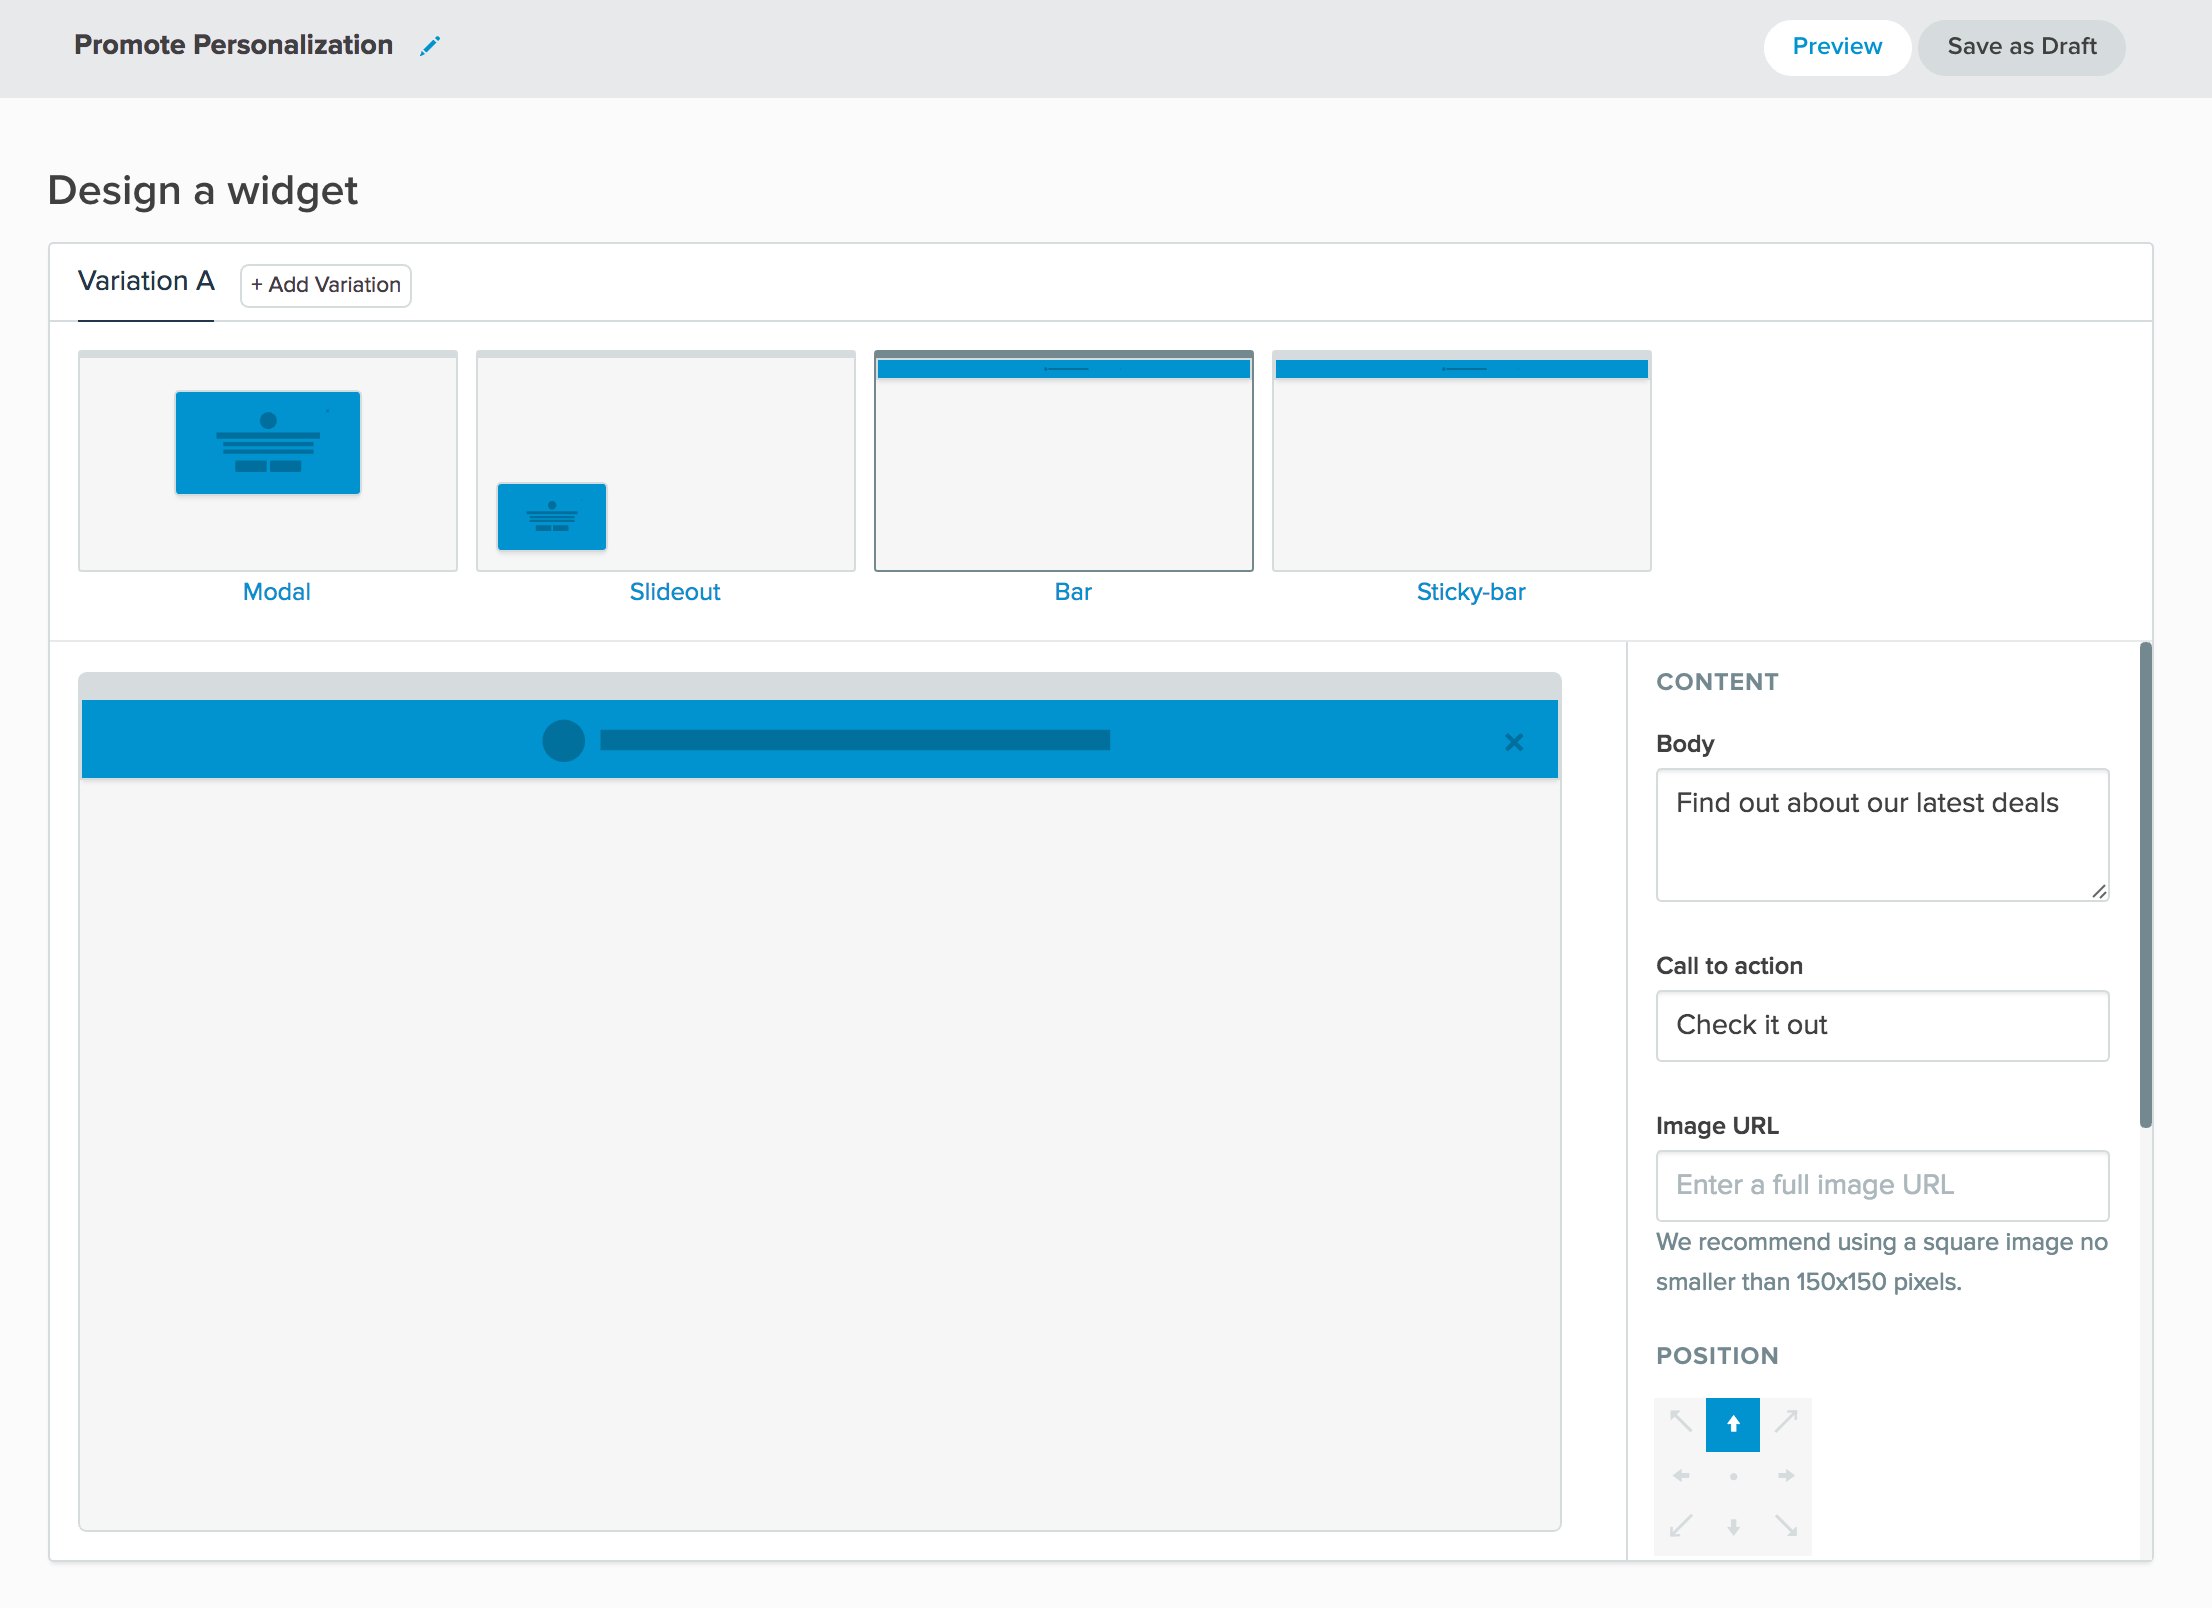
3) Customize the design of the widget
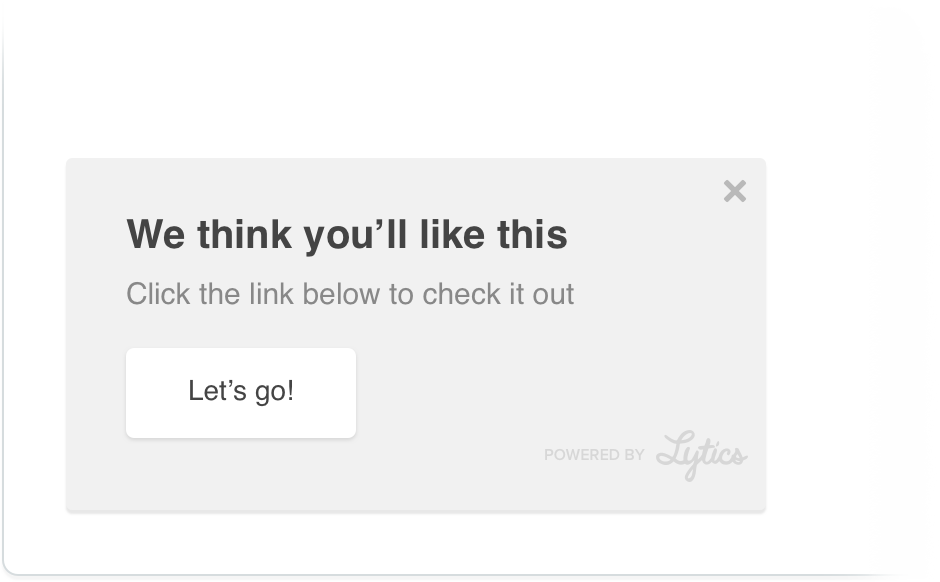
This is where we get to choose how we want to show this lead capture form. There is no right answer here, so do what makes the most sense for your campaign. Since there is little urgency in my campaign, I have chosen a bar. This will be noticed by visitors, but it won't get in the way.
The inline widget preview will provide some context for how this will show up as you fill out the form on the right-hand side.
Beyond copy settings, the widget designer allows for color customization options and a CSS class override if you are interested in completely customizing the shape, colors, and text treatment using your own CSS.
Read more about the personalization editor in our product documentation.
4) Preview the campaign
At this point we have provided enough information to see what the campaign would look like. Click the "Preview" button in the actions bar above, found on the right-hand side.
When prompted for a URL, provide any URL to your site.
NOTE: You must provide a URL that has jstag installed on it. Furthermore, jstag must be configured for the account you are creating a campaign in.
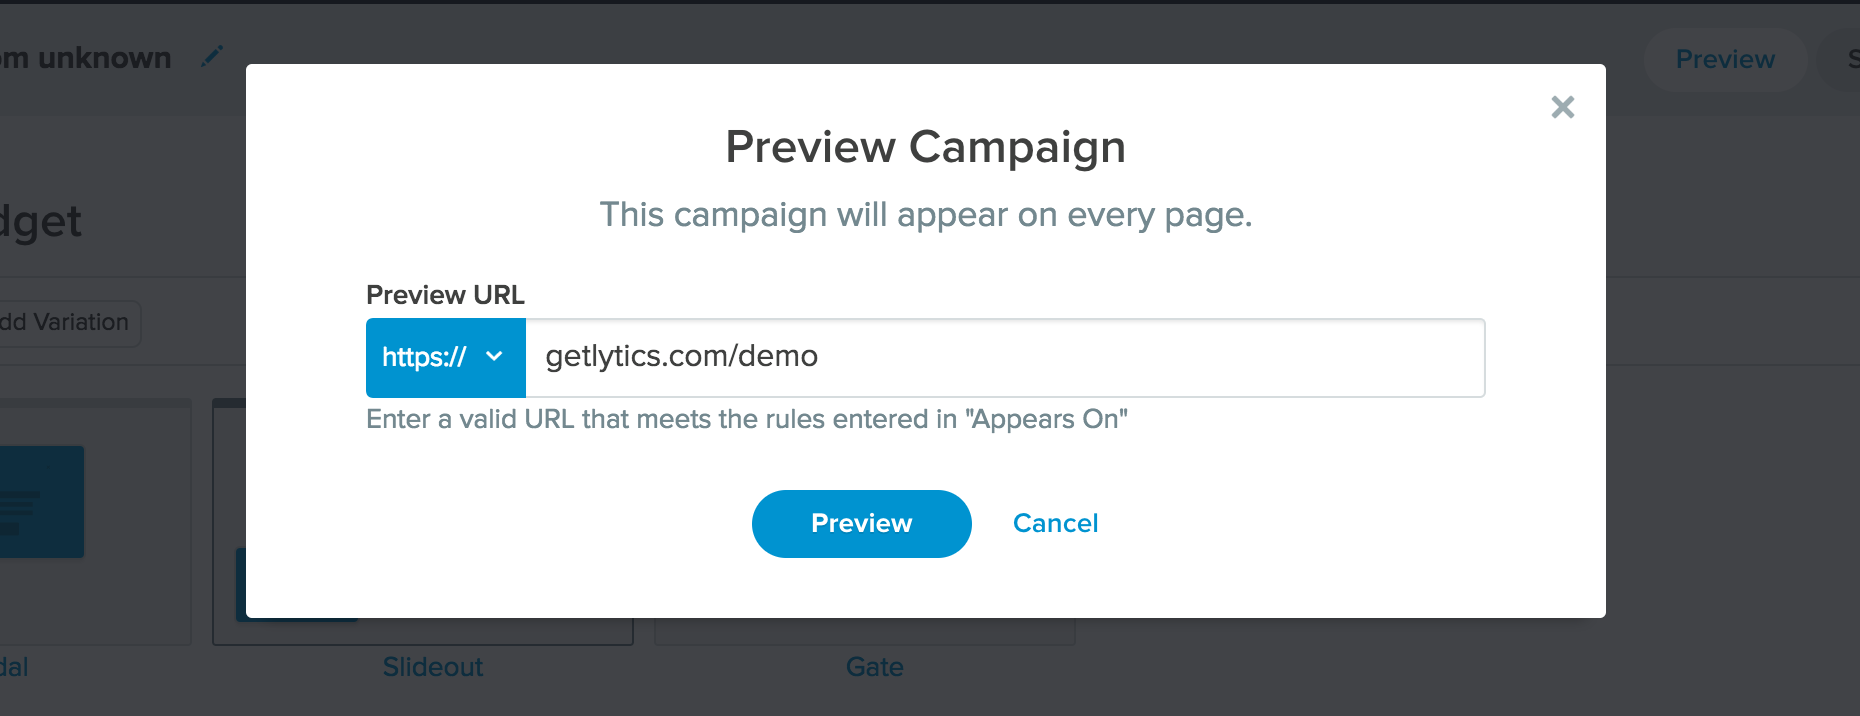
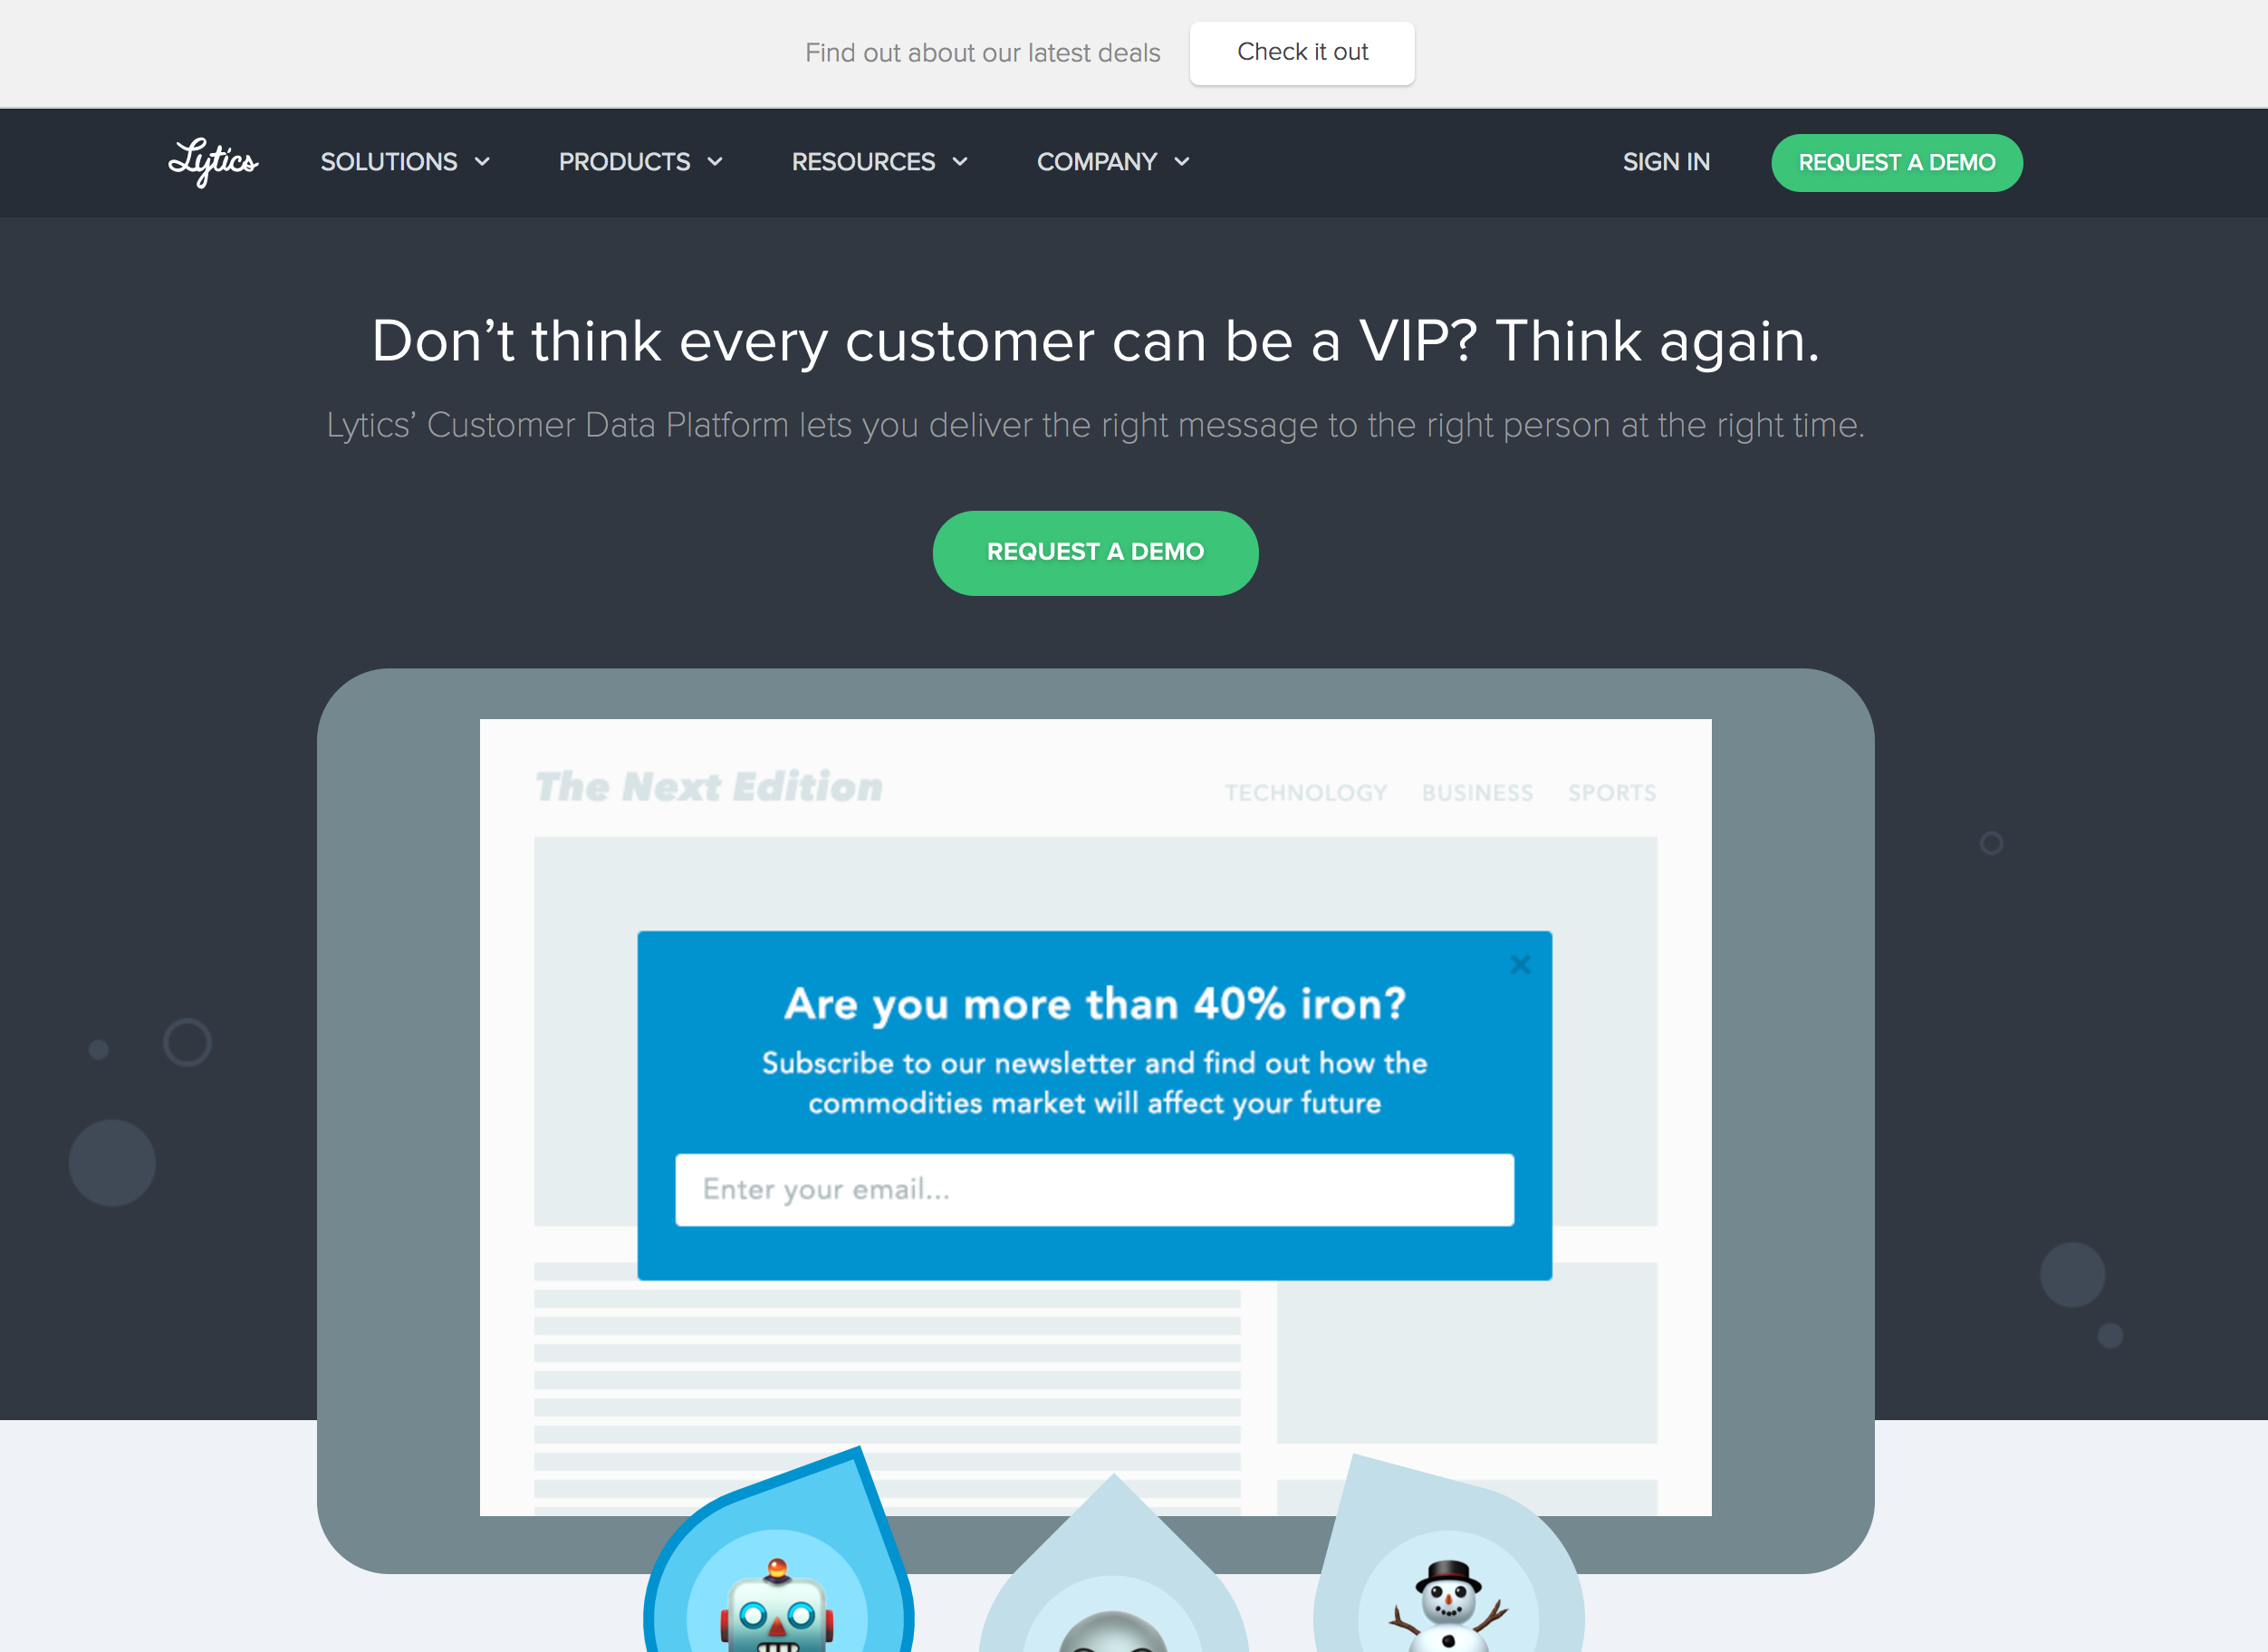
On clicking preview, the widget should immediately show up.
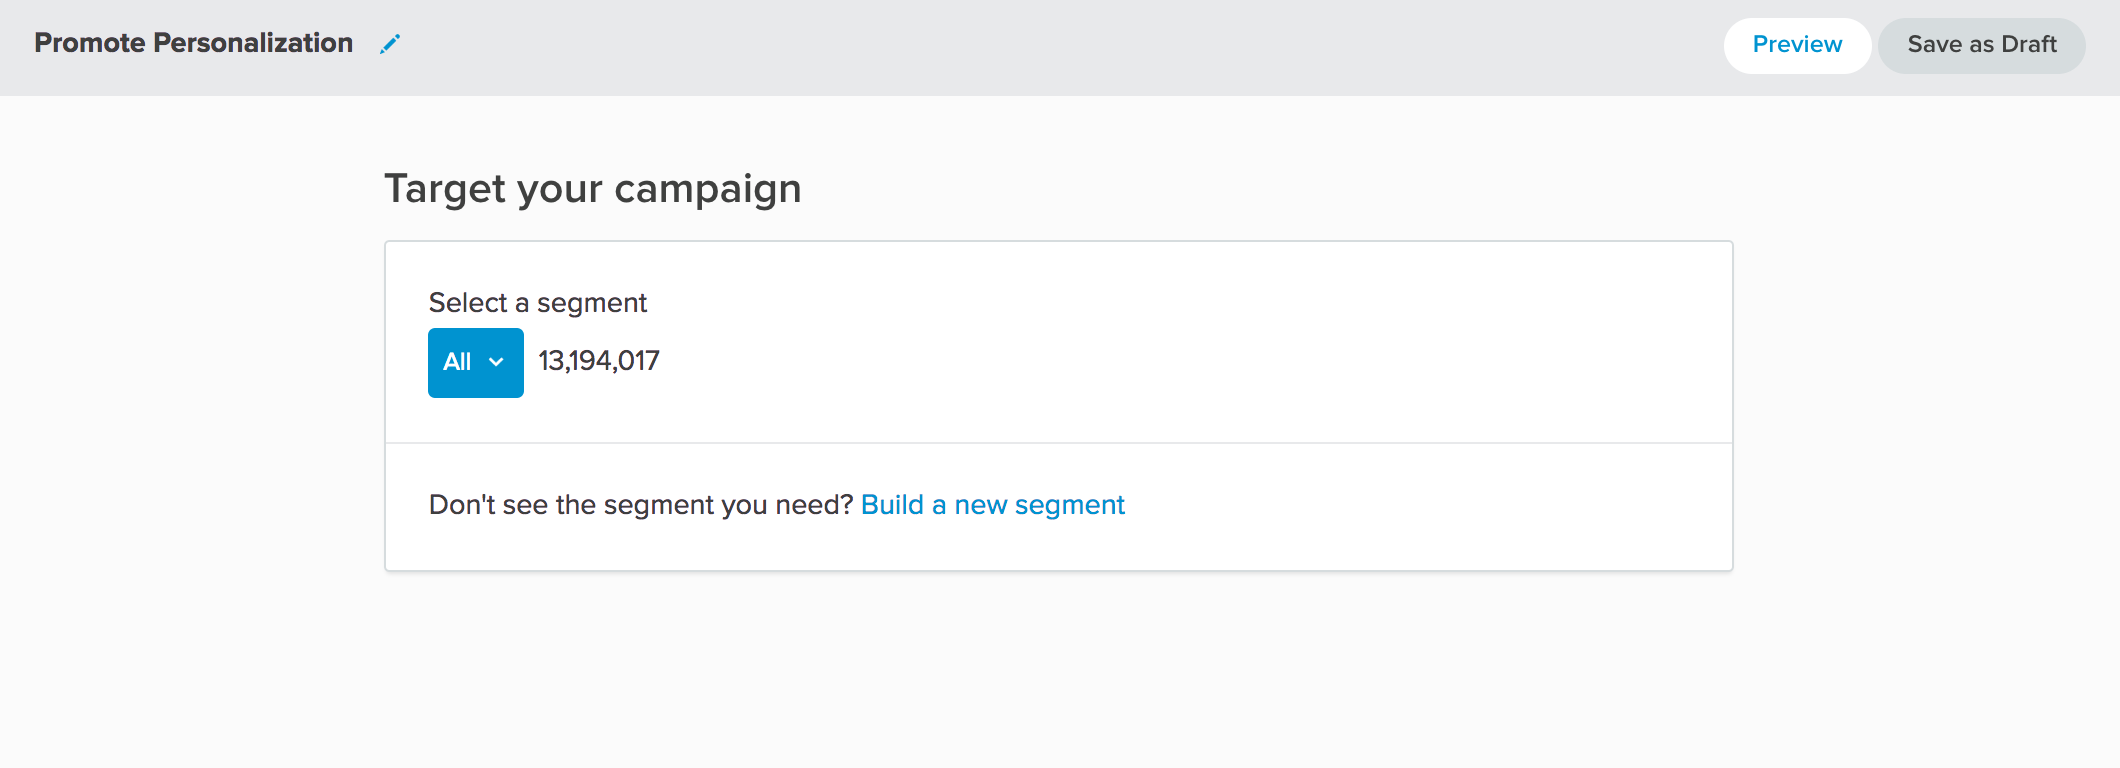
5) Choose the segment to target with this campaign
Previewing a campaign will always open a new tab, so go ahead and close that tab to return to the personalization editor. Click "Next step" to continue on to the "Target" step.
This single, powerful dropdown lists every available segment for targeting. As a Lytics account matures, this list will be mostly full of custom segments created by you and your team. However, out of the box Lytics has a host of segments including the one we want.
It's called "All" and it is exactly what it sounds like: every user in Lytics.
Note: Even new visitors, who have not yet been tracked by Lytics, will be a member of the All segment.
The All segment is also the default segment, so we don't have to do anything here.
NOTE: When previewing a campaign, the target segment is ignored. This way, no matter how precise your target is, as the marketer you will get to see the preview. This is not true for a published campaign.
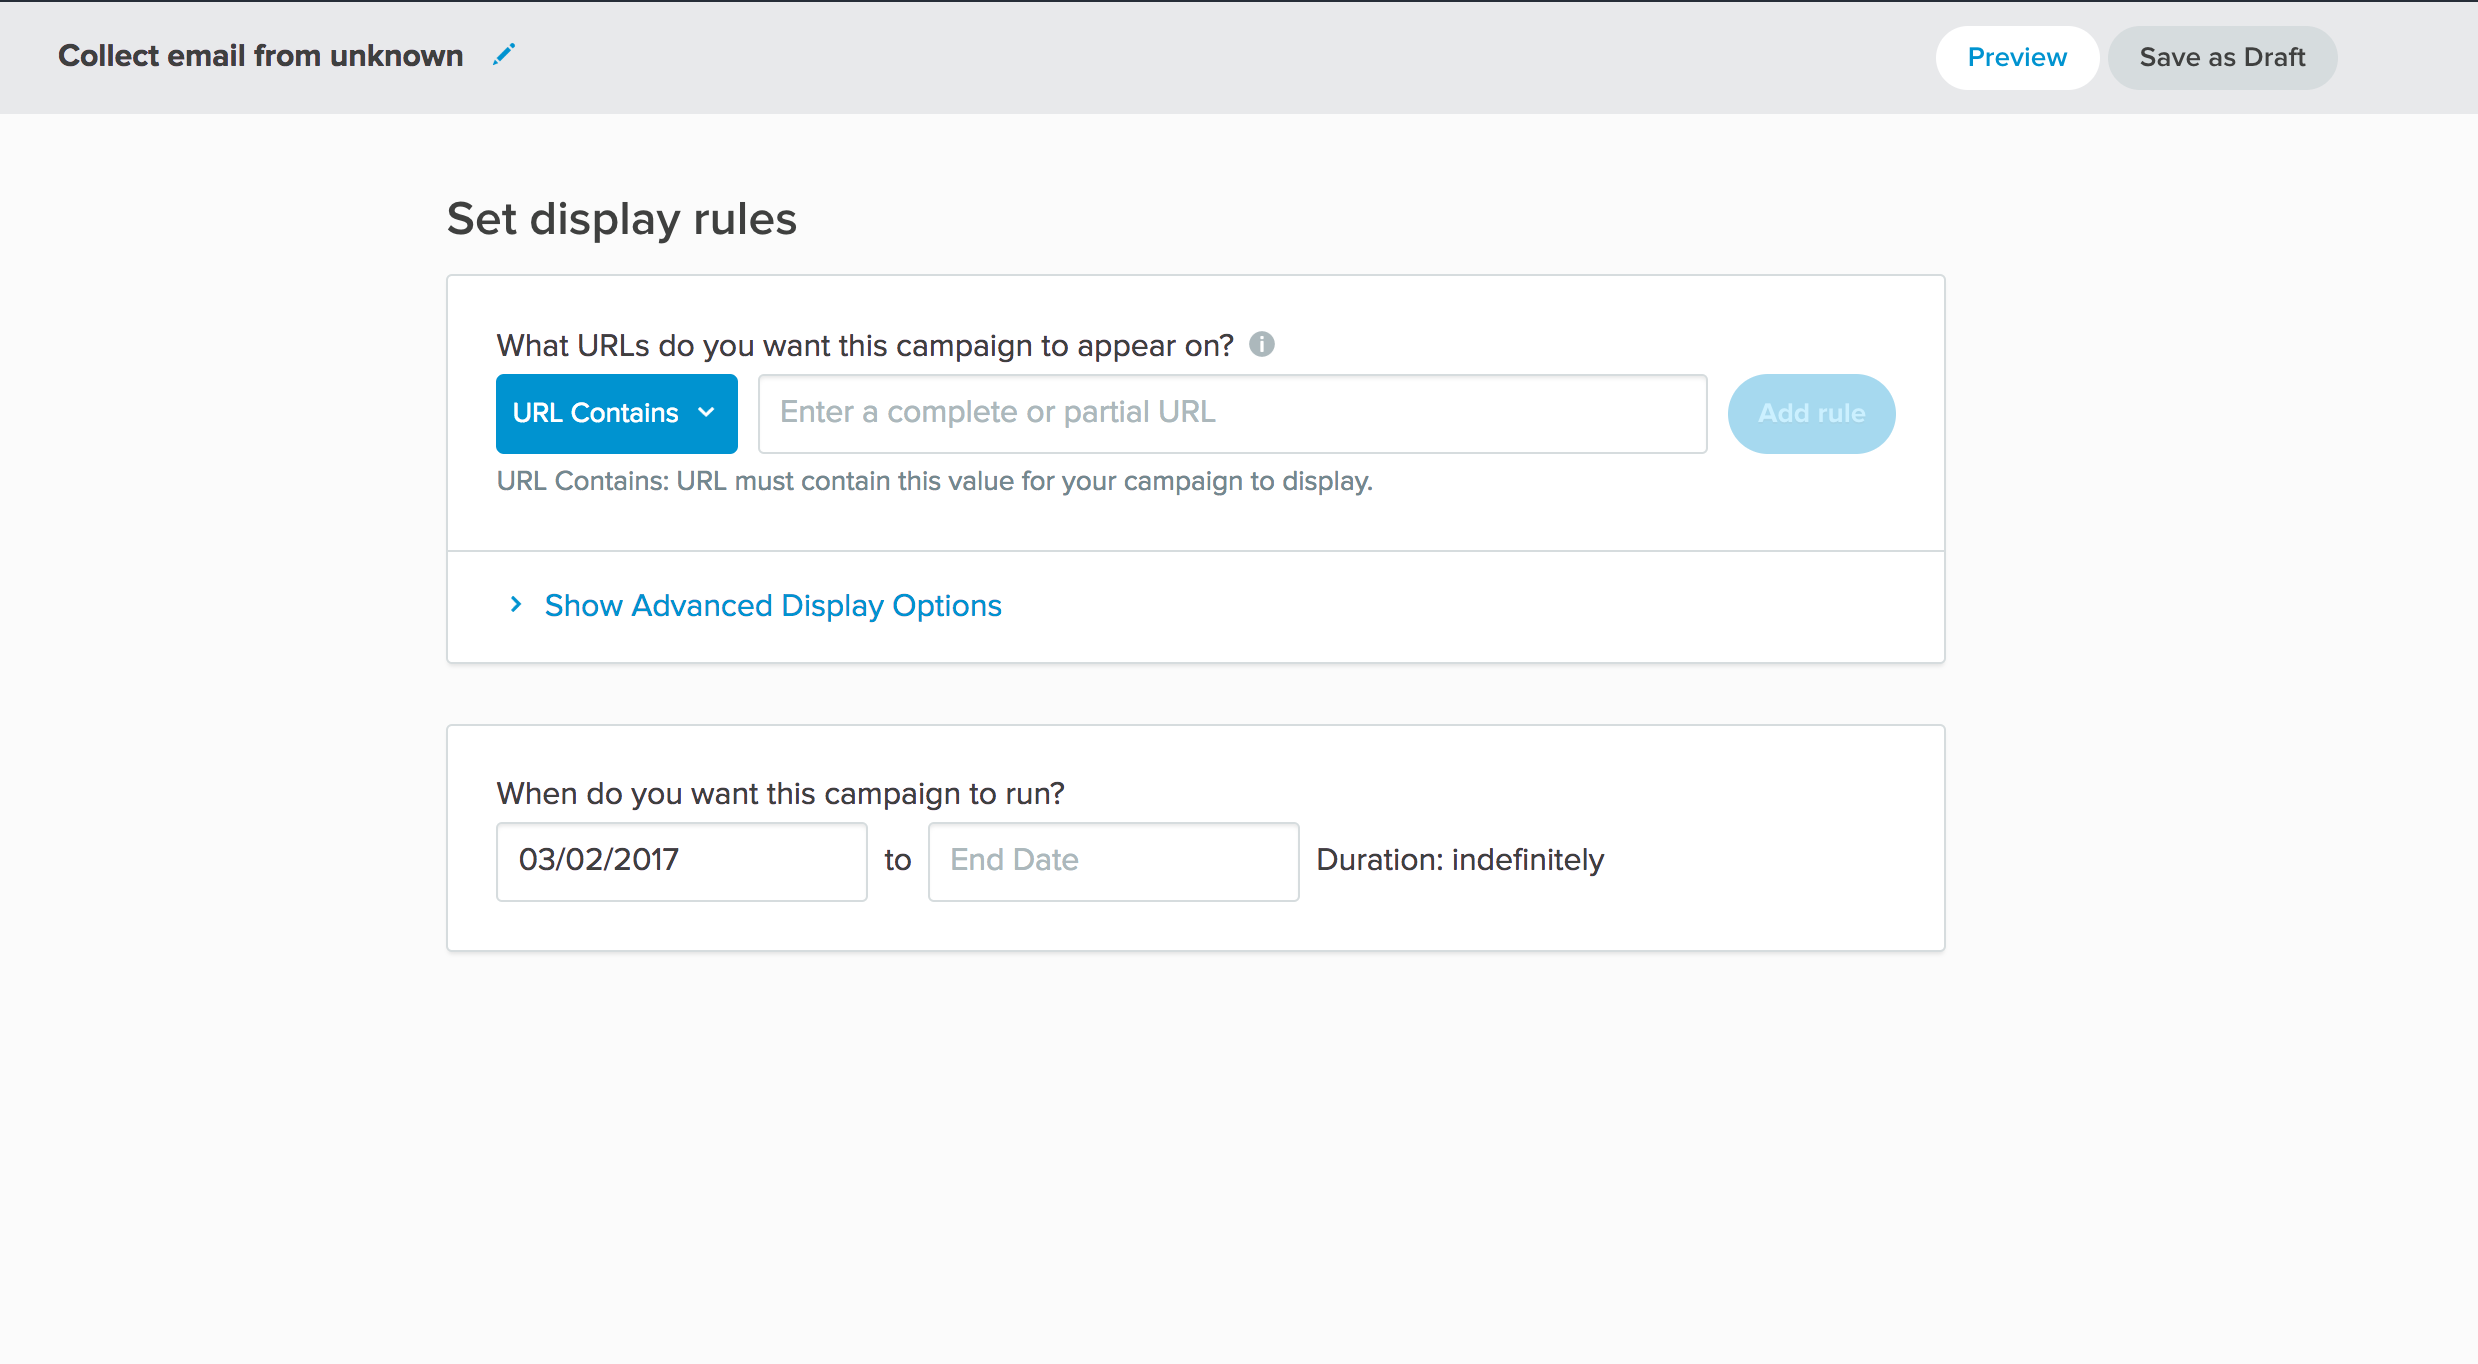
6) Decide on some display triggers
Beyond the segment targeting, additional display triggers can be set to define exactly when a widget will open.
This is a very interesting space to explore, since it includes options like Exit Intent, Open on Scroll Percentage, Only Show X Times Total, and more. But right now, let's keep this simple.
The first section "What URLs do you want this campaign to appear on?" is optional. When no URLs are set, the campaign will show on every page that Lytics is on, which is what we want.
The Advanced Display Options are worth checking out, but they can be ignored for now.
The last section is for setting a start and end date on the campaign. Since this campaign isn't coordinated with any sort of event or promotion, I am happy having it start as soon as I publish it and having it run until I manually stop it. So I'll leave this blank as well.
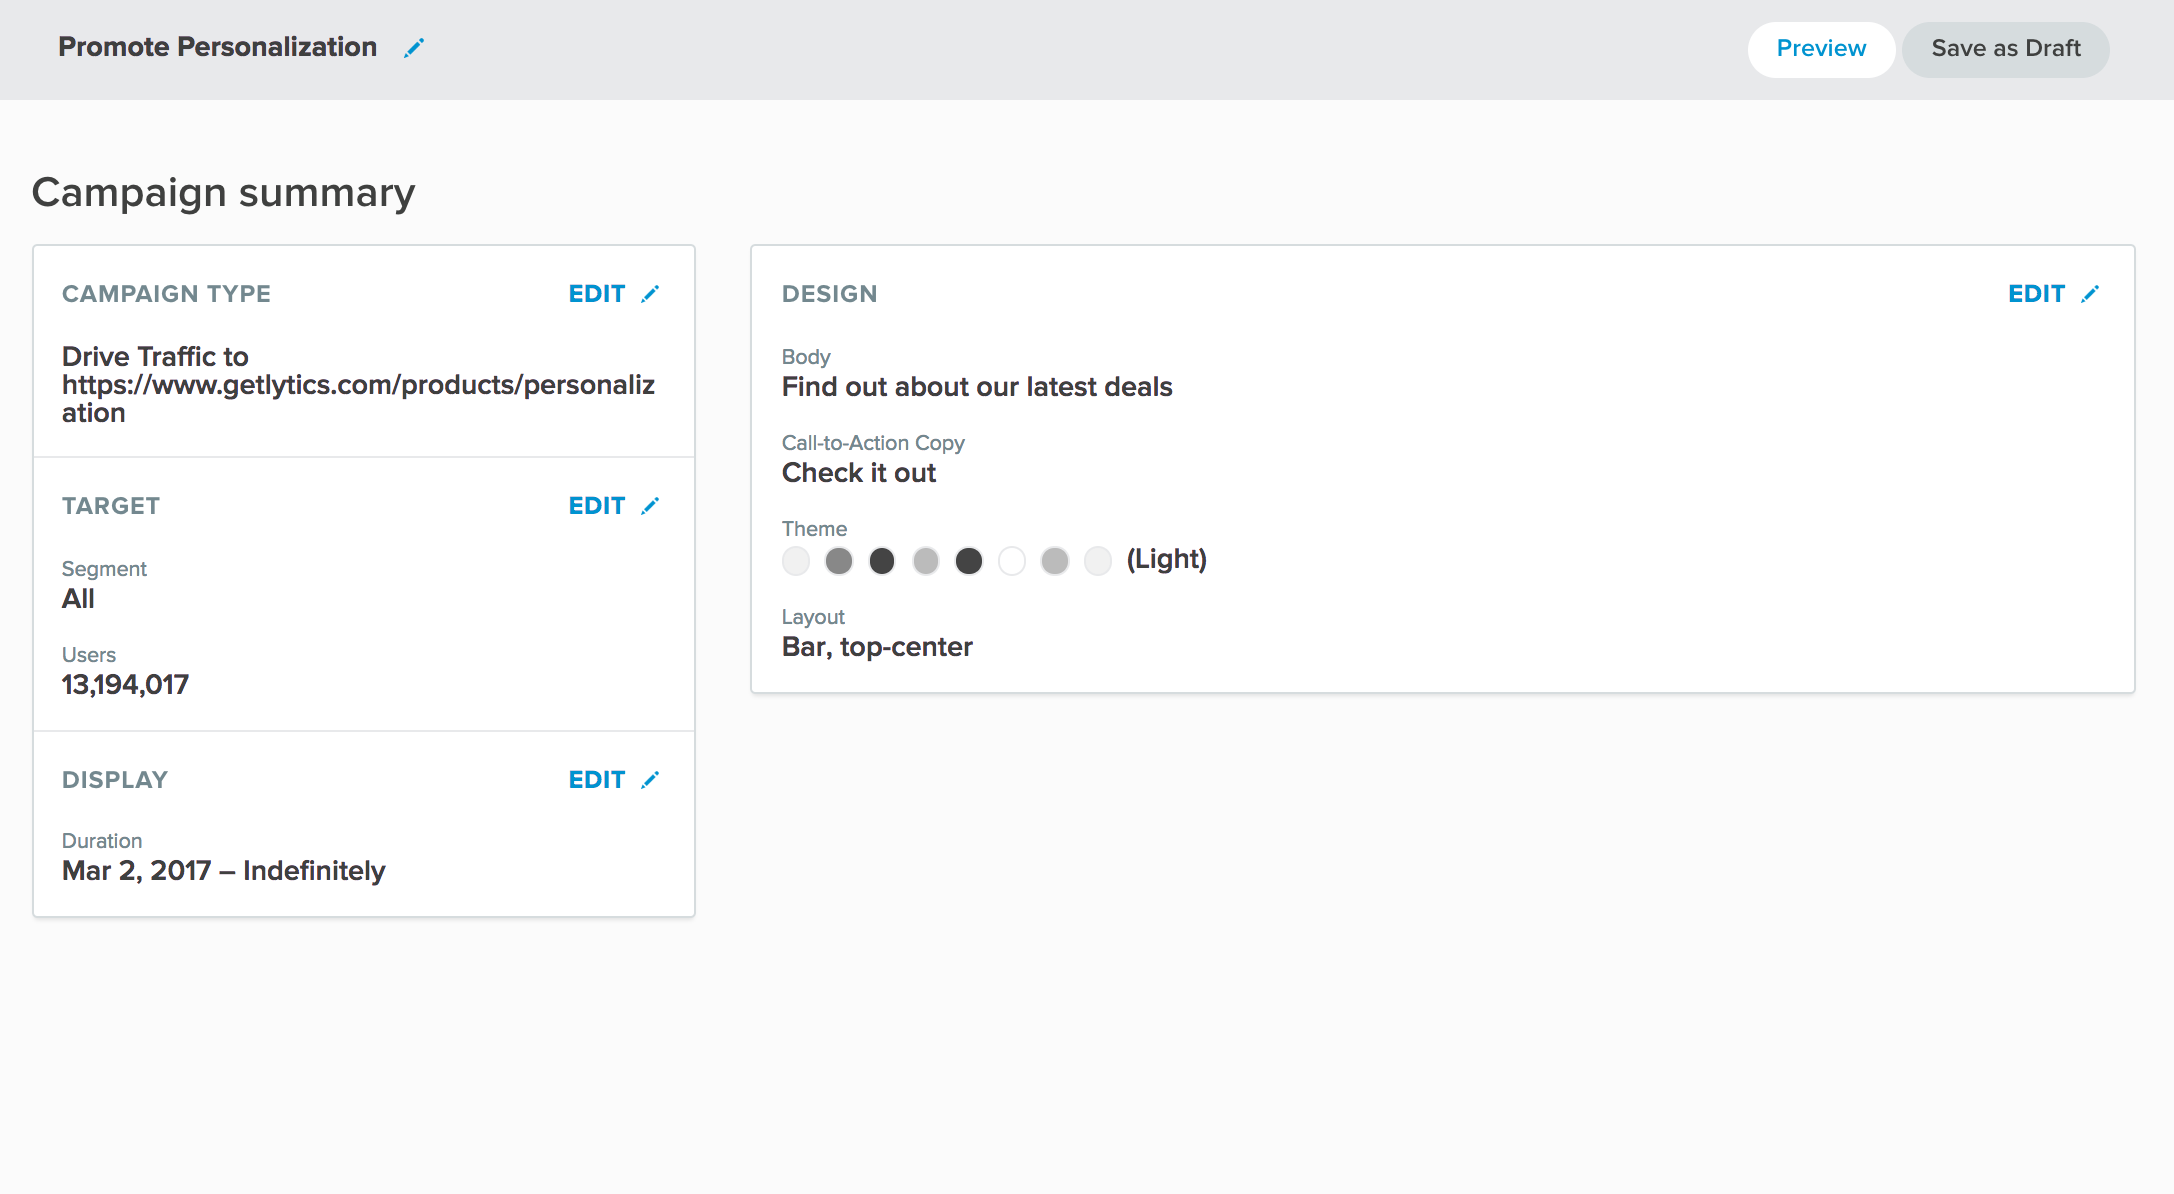
7) Review it, save it, launch it
Now that everything is set, review all the settings to make sure there are no mistakes. From here, you can save it as a draft to be published later or publish it immediately.
That's all there is to it! Go forth and drive traffic!
Comments
0 comments
Please sign in to leave a comment.